Let’s hit rewind and gear up!
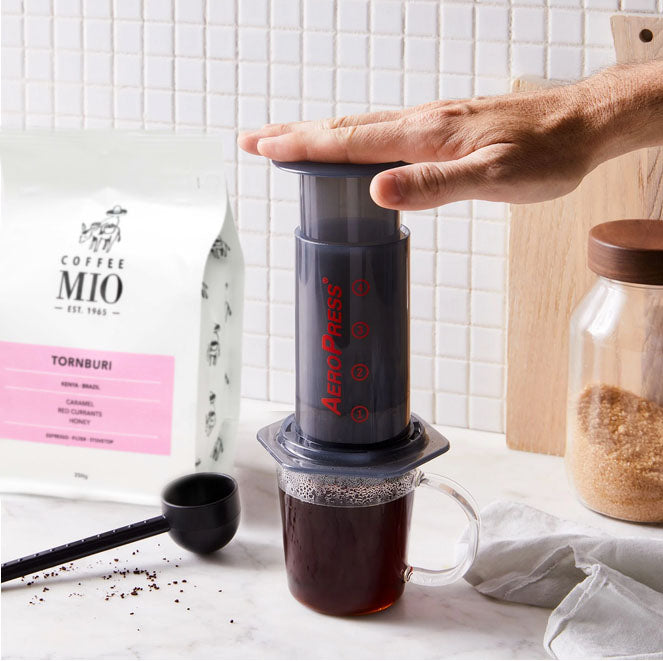
The AeroPress, brainchild of an American coffee lover in 2005, was designed to brew coffee that’s simply better.
No rigid rules here—no “perfect” grind, timing, or ratio. It’s all about creativity and great results. Think of it like a giant syringe: coffee in, water in, stir, flip, press, and voilà—liquid gold in your mug. It’s a travel must-have for us because it’s easy, fun, and always delivers!
How to Use an AeroPress: A Cheeky Guide to Coffee Bliss
- Gather Your Arsenal
Coffee? Check. Hot water? Check. AeroPress? Obviously. Oh, and don’t forget the mug—you’re not drinking out of your hand. - Assemble the Contraption
Pop the filter cap on the end of the main tube, insert a paper filter, and rinse it with hot water. (It’s like a warm-up stretch for your AeroPress.) - Coffee Grounds: In You Go
Add your favorite ground coffee—something around two scoops if you like it bold. Adjust as per your caffeine courage. - Pour the Hot Stuff
Add hot water just off the boil. Aim for around 85-95°C (not boiling lava). Pour to the level your heart desires—or follow the markings if you're feeling obedient. - Give It a Stir
Grab a spoon or that cute little stirrer AeroPress gives you. Mix like you’re whisking dreams into reality. - Seal the Deal
Attach the plunger, let it rest for a few seconds, and mentally prepare yourself for the magic moment. - Flip It, Press It
Flip the AeroPress over onto your mug. Now, press down firmly but gently—it’s coffee, not arm day. Listen for the hiss; that’s the sound of success. - Sip Like a Champion
You did it! Enjoy your masterpiece, smug in the knowledge that you just made coffee like a pro—with a syringe, no less.
Optional: Repeat whenever life demands better coffee. (Hint: that’s always.)
-
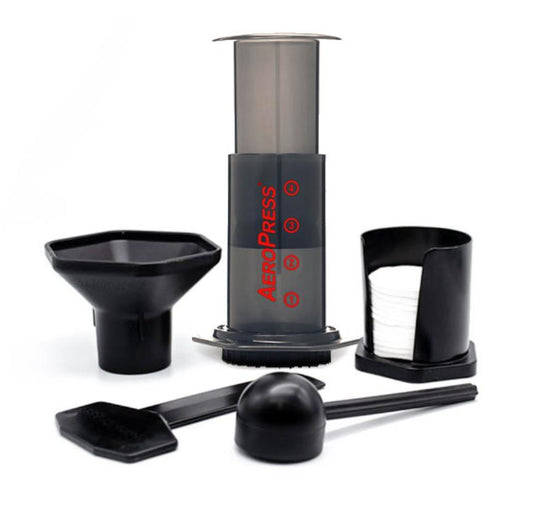
AEROPRESS - Coffee Press
Regular price $85.00 AUDRegular priceUnit price per -
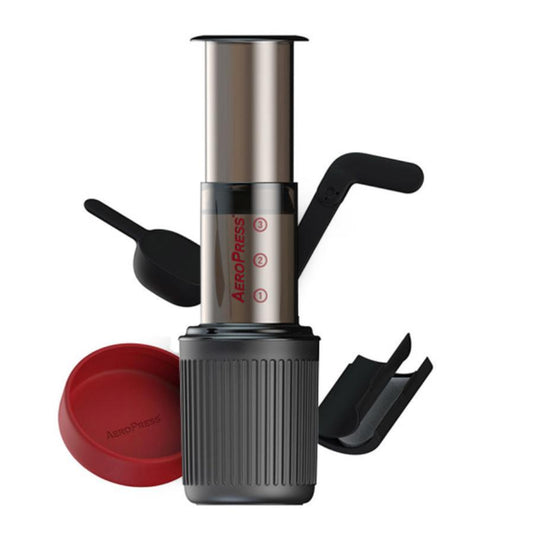
AEROPRESS - Go Coffee Press
Regular price $95.00 AUDRegular priceUnit price per -
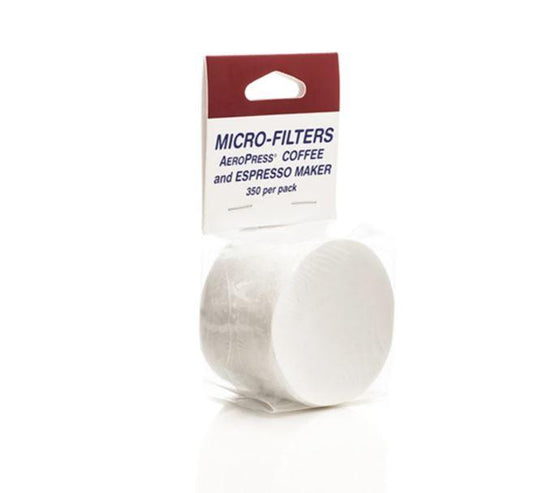
AEROPRESS/BRUER - Filter Papers (350)
Regular price $9.50 AUDRegular priceUnit price per -
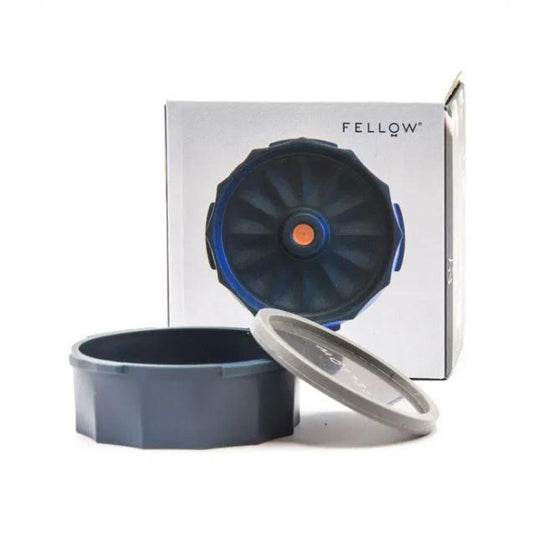
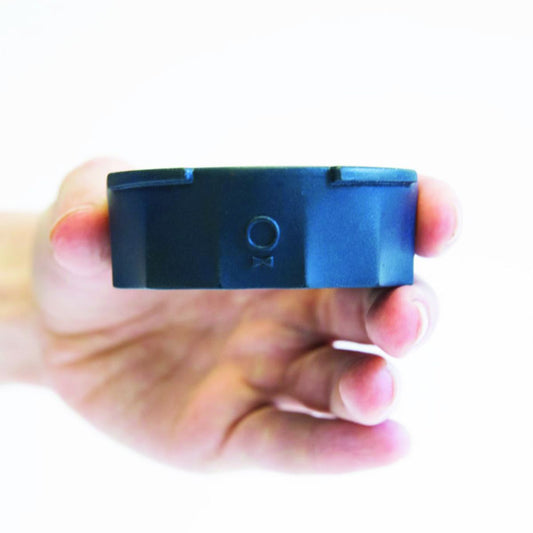
FELLOW - Prismo Aeropress Attachment
Regular price $40.00 AUDRegular priceUnit price per -
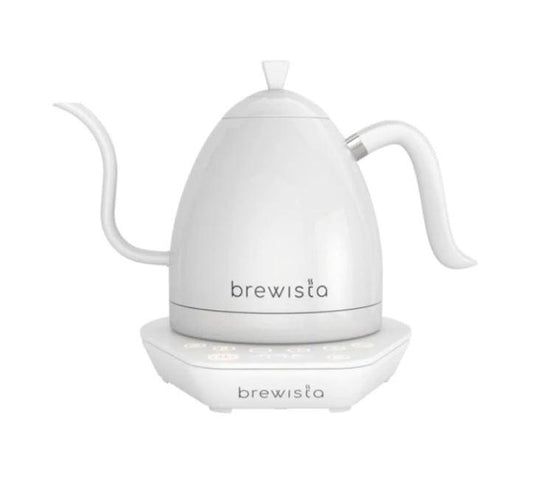
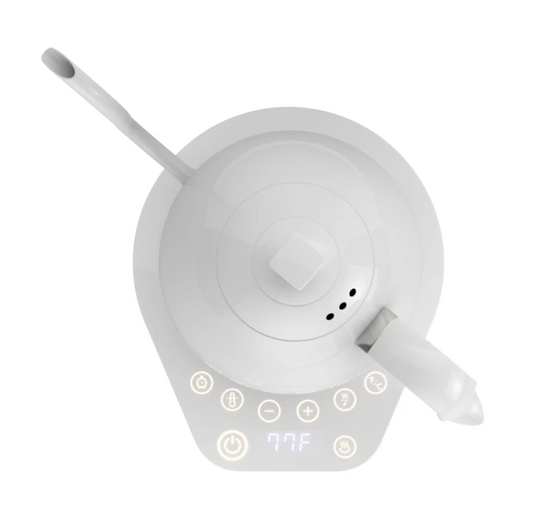
BREWISTA - Artisan 1L Kettle - White
Regular price $240.00 AUDRegular priceUnit price per


Collapsible content
What is the 'Brew Ratio'? How do I calculate it?
All of our Coffee MIO blends and single origins that are roasted for filter have their own specific 'Brew Ratio';
Referring to the ratio of water (mL) to coffee (grams)
We develop Brew Ratios, in order to provide coffee lovers with a recipe for extracting optimum flavour from their coffee - maximising sweetness and aroma. Also, meaning that coffee flavour can be replicated whenever you brew.
These ratios are simply a guide, so feel free to use where needed or ignore if you prefer an alternative coffee flavour profile!
Brew Ratio example:
A Brew Ratio of 1:15 - this can be translated to mean that for every 1 gram of coffee you require 15ml of water.
My Aeropress is very difficult to press down!
If it is quite difficult to press the Aeropress it is more than likely is due to the fact the grind is too fine - making it a challenge for the water to pass through.
To solve this simple make the coffee a little coarser next time.
You should aim to finish your total brewing process in around 2 minutes.
My coffee is extracting too fast into my cup!
If brewing your coffee is taking too long, sounds like you need to make your coffee a little coarser. The brewing time should take around 2 minutes in total from start to finish.
How do I store my coffee?
How to prolong my lifespan?
Show me a little bit of love to keep your coffees tasting banging.
Consider …
Storing me in an airtight container, something like these sexy ones:
Put me somewhere away from harsh light, extreme temperatures and moisture
(read: NO fridges. Definitely NO freezers.)